

Chevrolet Brake Fluid Flush Process: Step-by-Step Guide
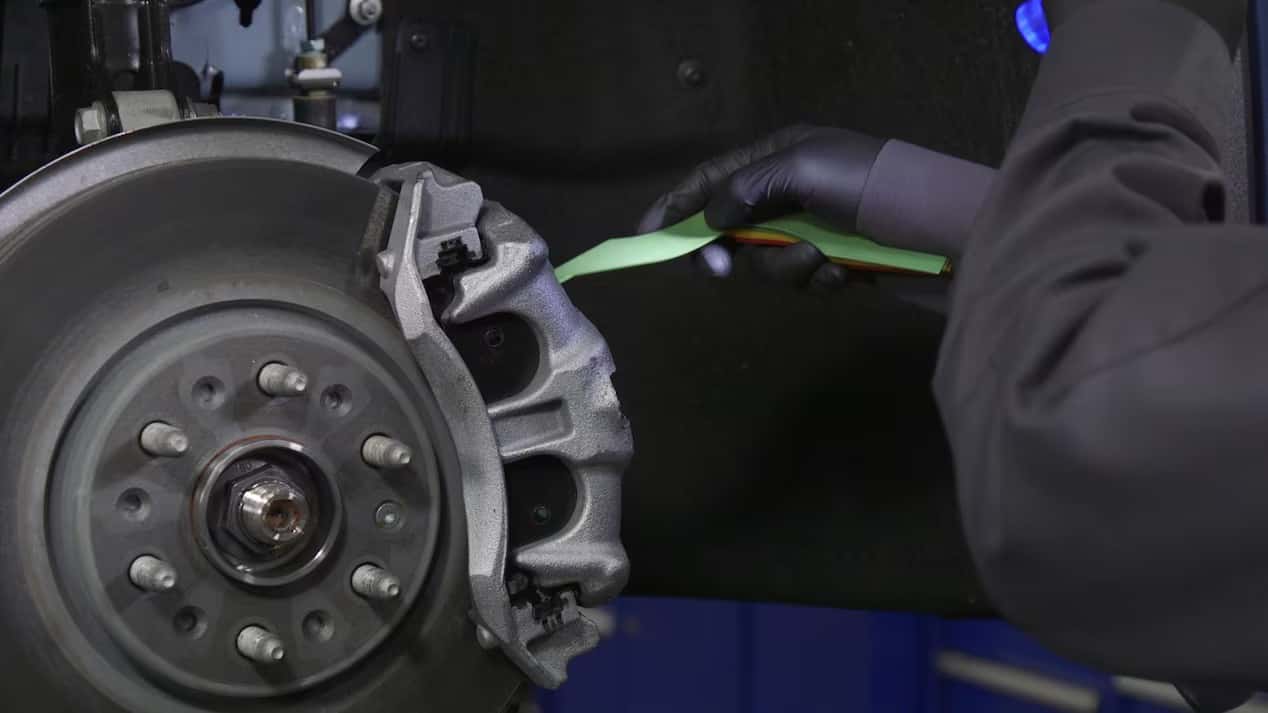
A Chevrolet brake fluid flush removes aging fluid from the hydraulic braking system and replaces it with fresh fluid that meets the specifications for your vehicle. Unlike a brake pad replacement, which addresses friction material at the wheels, a fluid flush services the hydraulic system that transfers pressure from the brake pedal to the brakes.
Brake fluid absorbs moisture over time, which can reduce its effectiveness and contribute to corrosion inside the braking system. This makes fluid condition worth monitoring, especially for Clermont drivers dealing with frequent stop-and-go traffic, towing, and regular trips on Florida’s Turnpike or I-4. At Don Mealey Chevrolet, the process begins with an inspection and follows the service information for the specific Chevrolet model.
- The old fluid is removed from the reservoir and hydraulic lines.
- Fresh, Chevrolet-approved fluid is added while each brake circuit is flushed.
- The system is checked for leaks, trapped air, warning lights, and proper pedal operation.
What Does Brake Fluid Do?
When you press the brake pedal, the master cylinder uses brake fluid to send hydraulic pressure through the brake lines. That pressure operates the calipers or wheel cylinders, which apply the friction components that slow the vehicle. Because liquids do not compress easily, properly maintained brake fluid helps produce a firm and predictable pedal response.
Brake fluid is hygroscopic, meaning it can absorb moisture over time. Moisture can lower the fluid’s boiling point and contribute to corrosion within metal brake lines, calipers, the master cylinder, and anti-lock braking components. A flush replaces the old fluid throughout the system rather than simply adding more fluid to the reservoir.
Brake Fluid Flush vs. Brake Bleeding
| Service | Primary Purpose | When It May Be Needed |
|---|---|---|
| Brake Fluid Flush | Replaces aging or contaminated fluid throughout the hydraulic system | At the manufacturer’s specified interval or when fluid condition indicates replacement |
| Brake Bleeding | Removes trapped air from part or all of the hydraulic system | After certain repairs or when air has entered the system |
| Brake Pad Replacement | Replaces worn friction material at the wheels | When pad thickness reaches the service limit or wear indicators appear |
Bleeding is part of many brake fluid flush procedures because the technician must move fluid through the brake circuits without leaving air behind. However, the terms are not always interchangeable. A repair may require bleeding one section of the system without performing a complete fluid replacement.
Step 1: Confirming the Chevrolet Model and Service History
The first step is identifying the vehicle’s model, model year, mileage, braking system, and previous service history. A Silverado used for towing may have different operating demands than a Trax used primarily for commuting, while a Corvette prepared for performance driving may require additional considerations.
The technician or service advisor can review the maintenance schedule for the specific Chevrolet. Many current Chevrolet maintenance schedules specify time-based brake fluid replacement, but intervals can vary by vehicle. The owner’s manual remains the primary source for determining when service is due.
Step 2: Inspecting the Brake System
Before replacing the fluid, a technician inspects the braking system for other problems that could affect the service. This may include checking the master cylinder reservoir, visible brake lines, flexible hoses, calipers, pads, and rotors. Fluid replacement will not correct a leaking hose, damaged line, sticking caliper, worn brake pad, or failing master cylinder.
If a leak or damaged component is found, the technician may recommend repairing it before or during the flush. Don Mealey Chevrolet’s Chevrolet brake service department can inspect the entire system rather than evaluating the reservoir alone.
Step 3: Checking the Brake Fluid Level and Condition
The technician checks the brake fluid level and looks for visible contamination. Dark fluid can indicate age or contamination, but color alone does not provide a complete diagnosis. Fluid level, maintenance history, vehicle requirements, and test results may all be considered.
A low reservoir should not automatically be corrected by pouring in more fluid. The level can decrease as brake pads wear, but it may also point to a hydraulic leak. Because a leak can affect stopping ability, its source needs to be identified before the vehicle returns to the road.
Step 4: Verifying the Correct Brake Fluid
Chevrolet vehicles do not all use interchangeable brake fluid. The required specification can be found in the owner’s manual and may also be printed on the reservoir cap. Using the wrong type or mixing incompatible fluids can affect seals, braking operation, and system performance.
Our technicians use fluid that meets the specification for the particular Chevrolet being serviced. The container is kept sealed until needed because brake fluid begins absorbing moisture after it is exposed to air.
Step 5: Preparing the Vehicle and Work Area
The vehicle is positioned in the service area, and the technician prepares access to the reservoir and wheel-end bleeder points. Protective measures are used around painted surfaces because brake fluid can damage automotive paint. The reservoir cap and surrounding area may also be cleaned to prevent dirt from entering the system.
Depending on the model and the equipment being used, the vehicle may be raised so the technician can reach each caliper or wheel cylinder. The proper bleeding sequence is determined from Chevrolet service information rather than assumed to be identical for every model.
Step 6: Removing Old Fluid From the Reservoir
A controlled amount of old fluid is removed from the master cylinder reservoir. The reservoir is then supplied with fresh fluid so that new fluid can begin moving through the hydraulic circuits. The reservoir must not be allowed to run dry during the process because that could introduce air into the master cylinder and brake lines.
Simply exchanging the fluid visible in the reservoir is not a complete flush. A large portion of the brake fluid remains in the lines, ABS hydraulic components, calipers, and wheel cylinders until it is pushed out through the bleeder points.
Step 7: Flushing the Brake Circuits
Service equipment is used to move fresh fluid through the brake system. At each wheel, the technician opens the appropriate bleeder and collects the outgoing fluid in a controlled container. The process continues until clean fluid reaches that point and air bubbles are no longer present.
The technician repeats the procedure at each wheel using the sequence specified for the Chevrolet. Throughout the flush, the reservoir is monitored to maintain the correct fluid supply. This controlled process helps prevent air from entering the system while replacing fluid that remained far from the reservoir.
Step 8: Servicing the ABS Hydraulic Unit When Required
Modern Chevrolet vehicles use an Anti-lock Braking System that can contain fluid within its hydraulic control unit. Most routine fluid services do not require opening or replacing the ABS unit, but some vehicles or repair situations may require a scan tool procedure to operate internal valves and pumps.
Chevrolet diagnostic equipment allows a trained technician to follow the procedure required for the specific system. This is particularly important if the reservoir previously ran dry, a hydraulic component was replaced, or air entered a portion of the ABS assembly.
Step 9: Setting the Final Fluid Level
After all circuits have been flushed, the reservoir is filled to the correct level using the specified fluid. The cap is secured, and the technician inspects the reservoir, brake lines, hoses, calipers, and bleeder points for signs of leakage.
Overfilling is avoided because the level must leave appropriate room in the reservoir. The technician also verifies that no tools, loose caps, spilled fluid, or open bleeders remain before moving to the final checks.
Step 10: Checking Pedal Feel and System Operation
The brake pedal is applied to confirm that it feels firm and responds properly. A soft or spongy pedal can indicate that air remains in the hydraulic system or that another brake problem needs attention. Warning lights and stored diagnostic information may also be checked when appropriate.
A final operational check or road test may be completed based on the vehicle and work performed. The service record should document the brake fluid replacement so the next interval can be tracked accurately.
How Often Does a Chevrolet Need a Brake Fluid Flush?
The correct interval depends on the year, model, powertrain, and maintenance schedule. Some current GM vehicle schedules call for brake fluid replacement every five years, while other Chevrolet guidance or operating conditions may support a different interval. Chevrolet also recommends periodic brake-system inspections separate from fluid replacement.
Do not assume that low mileage means the fluid will never need attention. Brake fluid replacement is often time-based because moisture absorption occurs as the vehicle ages. Check your owner’s manual or ask a Certified Service advisor to review the schedule for your Chevrolet.
Signs Your Brake System Needs Prompt Attention
A maintenance interval is not the only reason to have the brakes inspected. Schedule service promptly if the brake pedal feels different or a warning appears. Continuing to drive with a possible hydraulic problem could reduce braking ability.
- A soft, spongy, or sinking brake pedal
- A brake-system or ABS warning light
- Brake fluid below the reservoir’s minimum mark
- Visible fluid near a wheel or beneath the vehicle
- Longer stopping distances
- The vehicle pulling to one side while braking
- Grinding, scraping, or persistent brake noise
- A burning odor following repeated hard braking
If the red brake warning light remains on after the parking brake is released, stop in a safe location and arrange for the vehicle to be inspected. A fluid flush should never be treated as a guaranteed repair for every braking symptom.
Schedule Chevrolet Brake Fluid Service in Clermont
Don Mealey Chevrolet provides brake inspections, fluid maintenance, pad and rotor service, and hydraulic brake repairs for Chevrolet cars, trucks, SUVs, and EVs. Our Certified Service team can check your vehicle’s maintenance schedule and determine whether it needs a brake fluid flush or a different brake repair.
Review our current Chevrolet service and parts specials, learn more about our Certified Service department, or schedule Chevrolet service in Clermont. We are located at 17185 W. State Road 50 and serve Chevrolet owners throughout Clermont and the Orlando area.
Frequently Asked Questions
How long does a Chevrolet brake fluid flush take?
Service time varies by Chevrolet model, brake-system condition, and whether additional bleeding or repairs are required. A service advisor can provide a more accurate estimate after confirming the vehicle and requested work.
Is a brake fluid flush the same as replacing brake pads?
No. A brake fluid flush services the hydraulic fluid, while a brake pad replacement installs new friction material at the wheels. A vehicle may need one service without needing the other, although both can be completed during the same visit when necessary.
How often should Chevrolet brake fluid be replaced?
Follow the maintenance schedule for your specific model and year. Some current GM schedules specify replacement every five years, but requirements can vary. A Certified Service advisor can review the correct interval using your vehicle information.
Can I just add brake fluid instead of having it flushed?
Adding fluid does not remove moisture or contamination from the brake lines. A low level can also indicate worn brake pads or a leak, so the cause should be inspected before fluid is added. A complete flush replaces aging fluid throughout the hydraulic system.

0 comment(s) so far on Chevrolet Brake Fluid Flush Process: Step-by-Step Guide